5 Easy Steps to Waterproofing Your Deck

Waterproof your wood deck is an important part of maintenance that will help preserve the wood and keep your deck looking great for longer. You can take on this simple job by yourself. Here's how to seal your deck to extend its life and maintain its new-deck appearance.
Things You’ll Need
Sandpaper
Power screwdriver
Wood screws
Stiff-bristled brush
Water hose
Paint stir sticks
Paint tray and tray liner
Paint roller frame
Lint-free paint roller cover
Lambswool pad
.
Step 1: Set up shop there. It's crucial to keep the area around your deck tidy. Remove any and all objects from your workspace, including grills and chairs. Check the deck carefully for any loose boards, then secure them with screws. The next step is to use sandpaper to smooth out any dings, splinters, or rough areas. In order to prevent damage, make sure to sand with the grain of the wood. After that, clear the deck of debris and scrub it clean using water and a stiff-bristled brush. You should allow the deck to dry for 24 to 48 hours to avoid trapping moisture inside the wood.
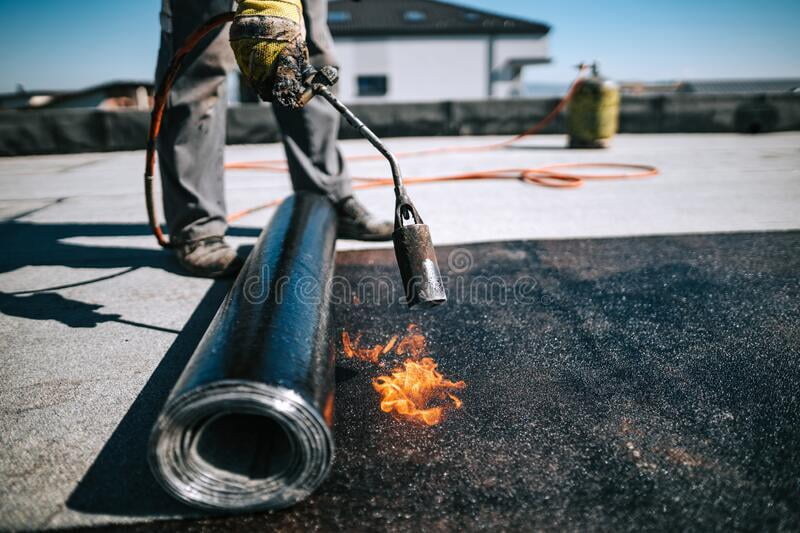
Step 2: Add a water-resistant sealant. Keep a close eye on the weather, and wait to seal your deck until you're certain you'll have a run of five to seven clear, dry days. Mix the sealer completely with a wooden paint stir stick. Pour the sealer into a paint tray after adding a tray liner. Using a 1/2-inch lint-free paint roller, apply the sealant to the wood deck. Make sure to apply the sealer in even, thin layers while working with no more than two to three sections of wood at once.
Step 3: Ensure sufficient protection. While the sealer is still wet, cover each individual portion with a lamb's wool pad to distribute it evenly. By doing so, you may ensure that the sealant enters all of the little crevices and gaps while also promoting a smoother, more appealing outcome.
Step 4: Add one more layer. Add a second, thin coat of sealant while the first coat is still wet but tacky. Be sure to position yourself while working so that you can move around easily and aren't hemmed in by wet sealer. As directed by the sealing product's instructions, keep applying coats in this manner until you've applied enough coats to adequately protect the wood.
Step 5: Let it cure and dry out. After sealing the entire deck, wait until the finish is totally dry before bringing your grill or other furniture back. Make sure you follow the instructions for your product to ensure that you allow the sealer enough time to dry. In rare cases, the instructions may advise you to give the finish two or more days to harden and cure.
Things to Consider
Apply multiple thin applications of sealer rather than a few thick ones to ensure optimum adhesion to the wood. Working outside in warm, dry weather is also an excellent option. While you can apply deck sealer while it's humid, the drying process will take longer and your results might not be as good.
For homeowners, Houston Waterproofing provides waterproofing for wood decks coverage. Let us assist you in securing your house.

Comments
Post a Comment